Have you ever wondered how it was made? Take a peek behind the scenes!
One of my biggest aha! moments during my journey to becoming a jewellery designer happened about eleven years ago when I was watching a demonstration in the metal studio at NSCAD University. I distinctly remember the sudden feeling of my mind racing and expanding as I watched my professor execute a number of basic techniques that lay the foundation for creating jewellery.
Although I never wore much jewellery growing up, I have always been drawn to it. As a child I had a few special pieces of jewellery that had been passed down to me, and I loved looking at them and thinking about where they had been, and who had worn them. One thing I never really thought much about was how they were made–whose hands made them, and how exactly did they come to be?
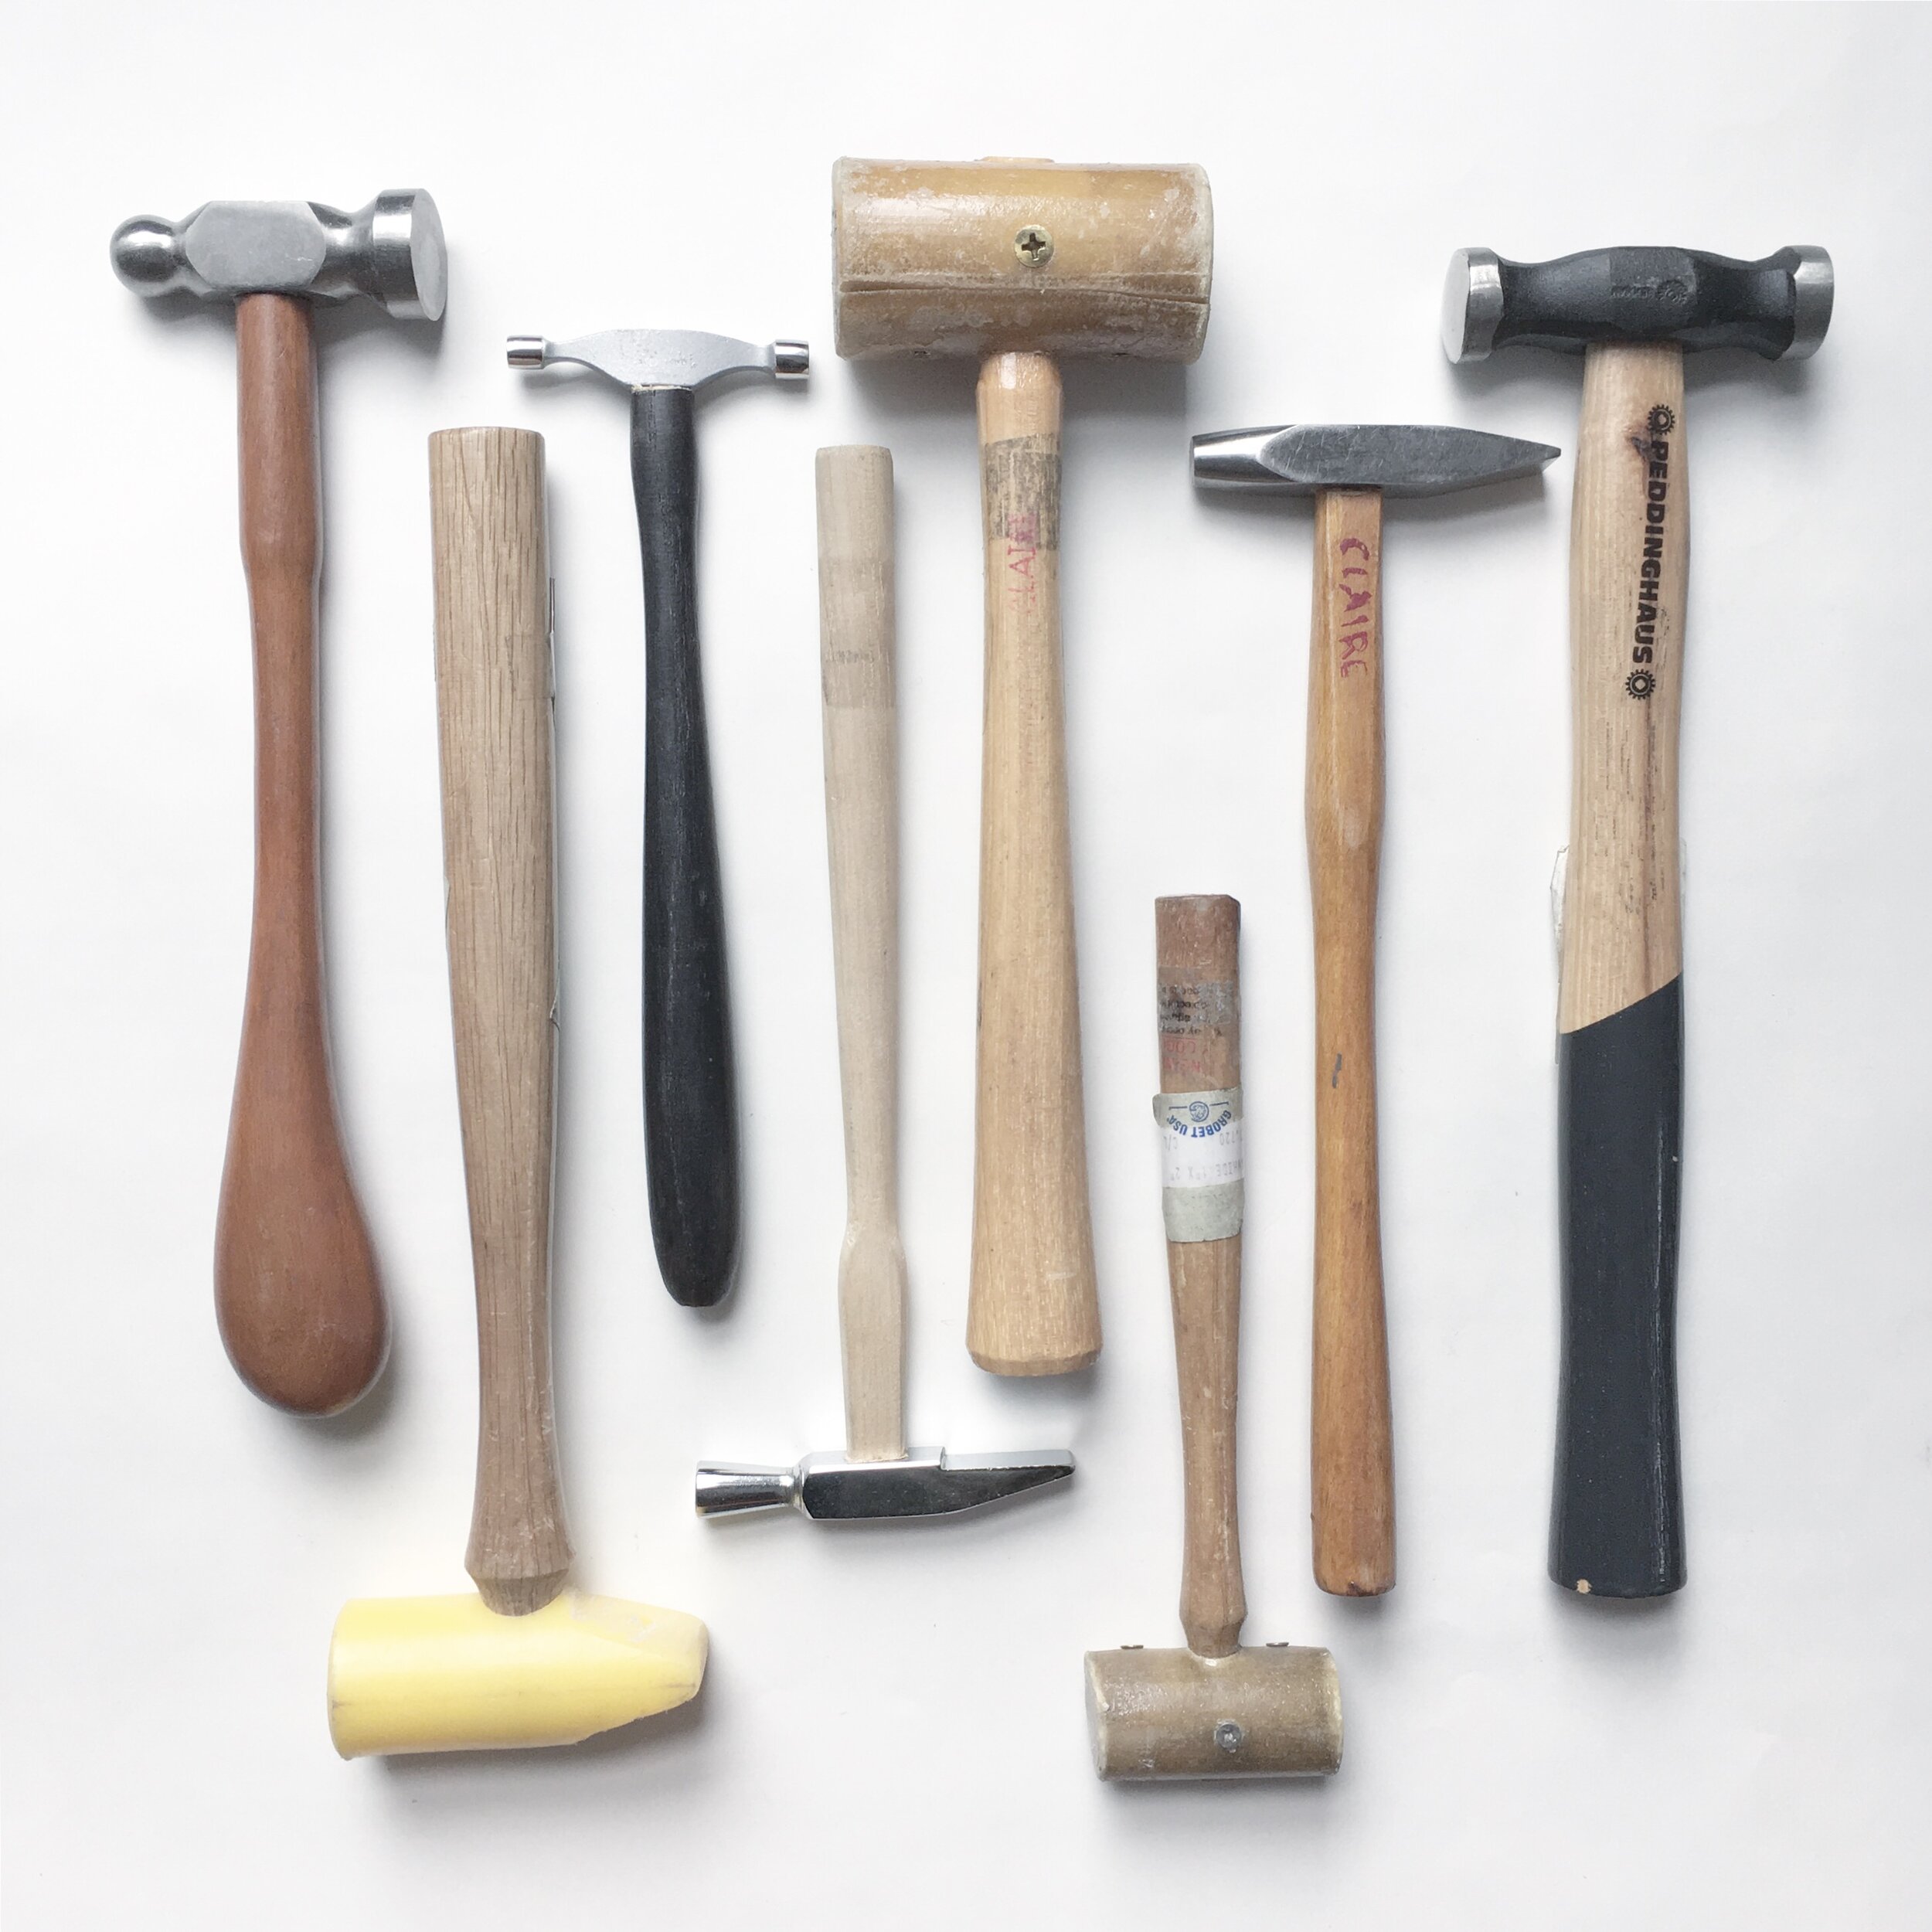
A variety of different hammers used to manipulate metal.
In the first jewellery course I took in university, I found myself continuously fascinated by each new technique I learned, and all the different tools required to manipulate metal. Before long, I was incorporating a variety of techniques to create real, finished pieces of jewellery!
Catching a glimpse into how something is made is almost always fascinating. I often get asked how I make my jewellery, and the answer the always something I’m happy to share. I think it’s really important to offer insight into what happens in the studio because it helps to foster a greater appreciation things made by hand.
So come on in, and I’ll share a little of the behind-the-scenes of KCM Jewellery Design!
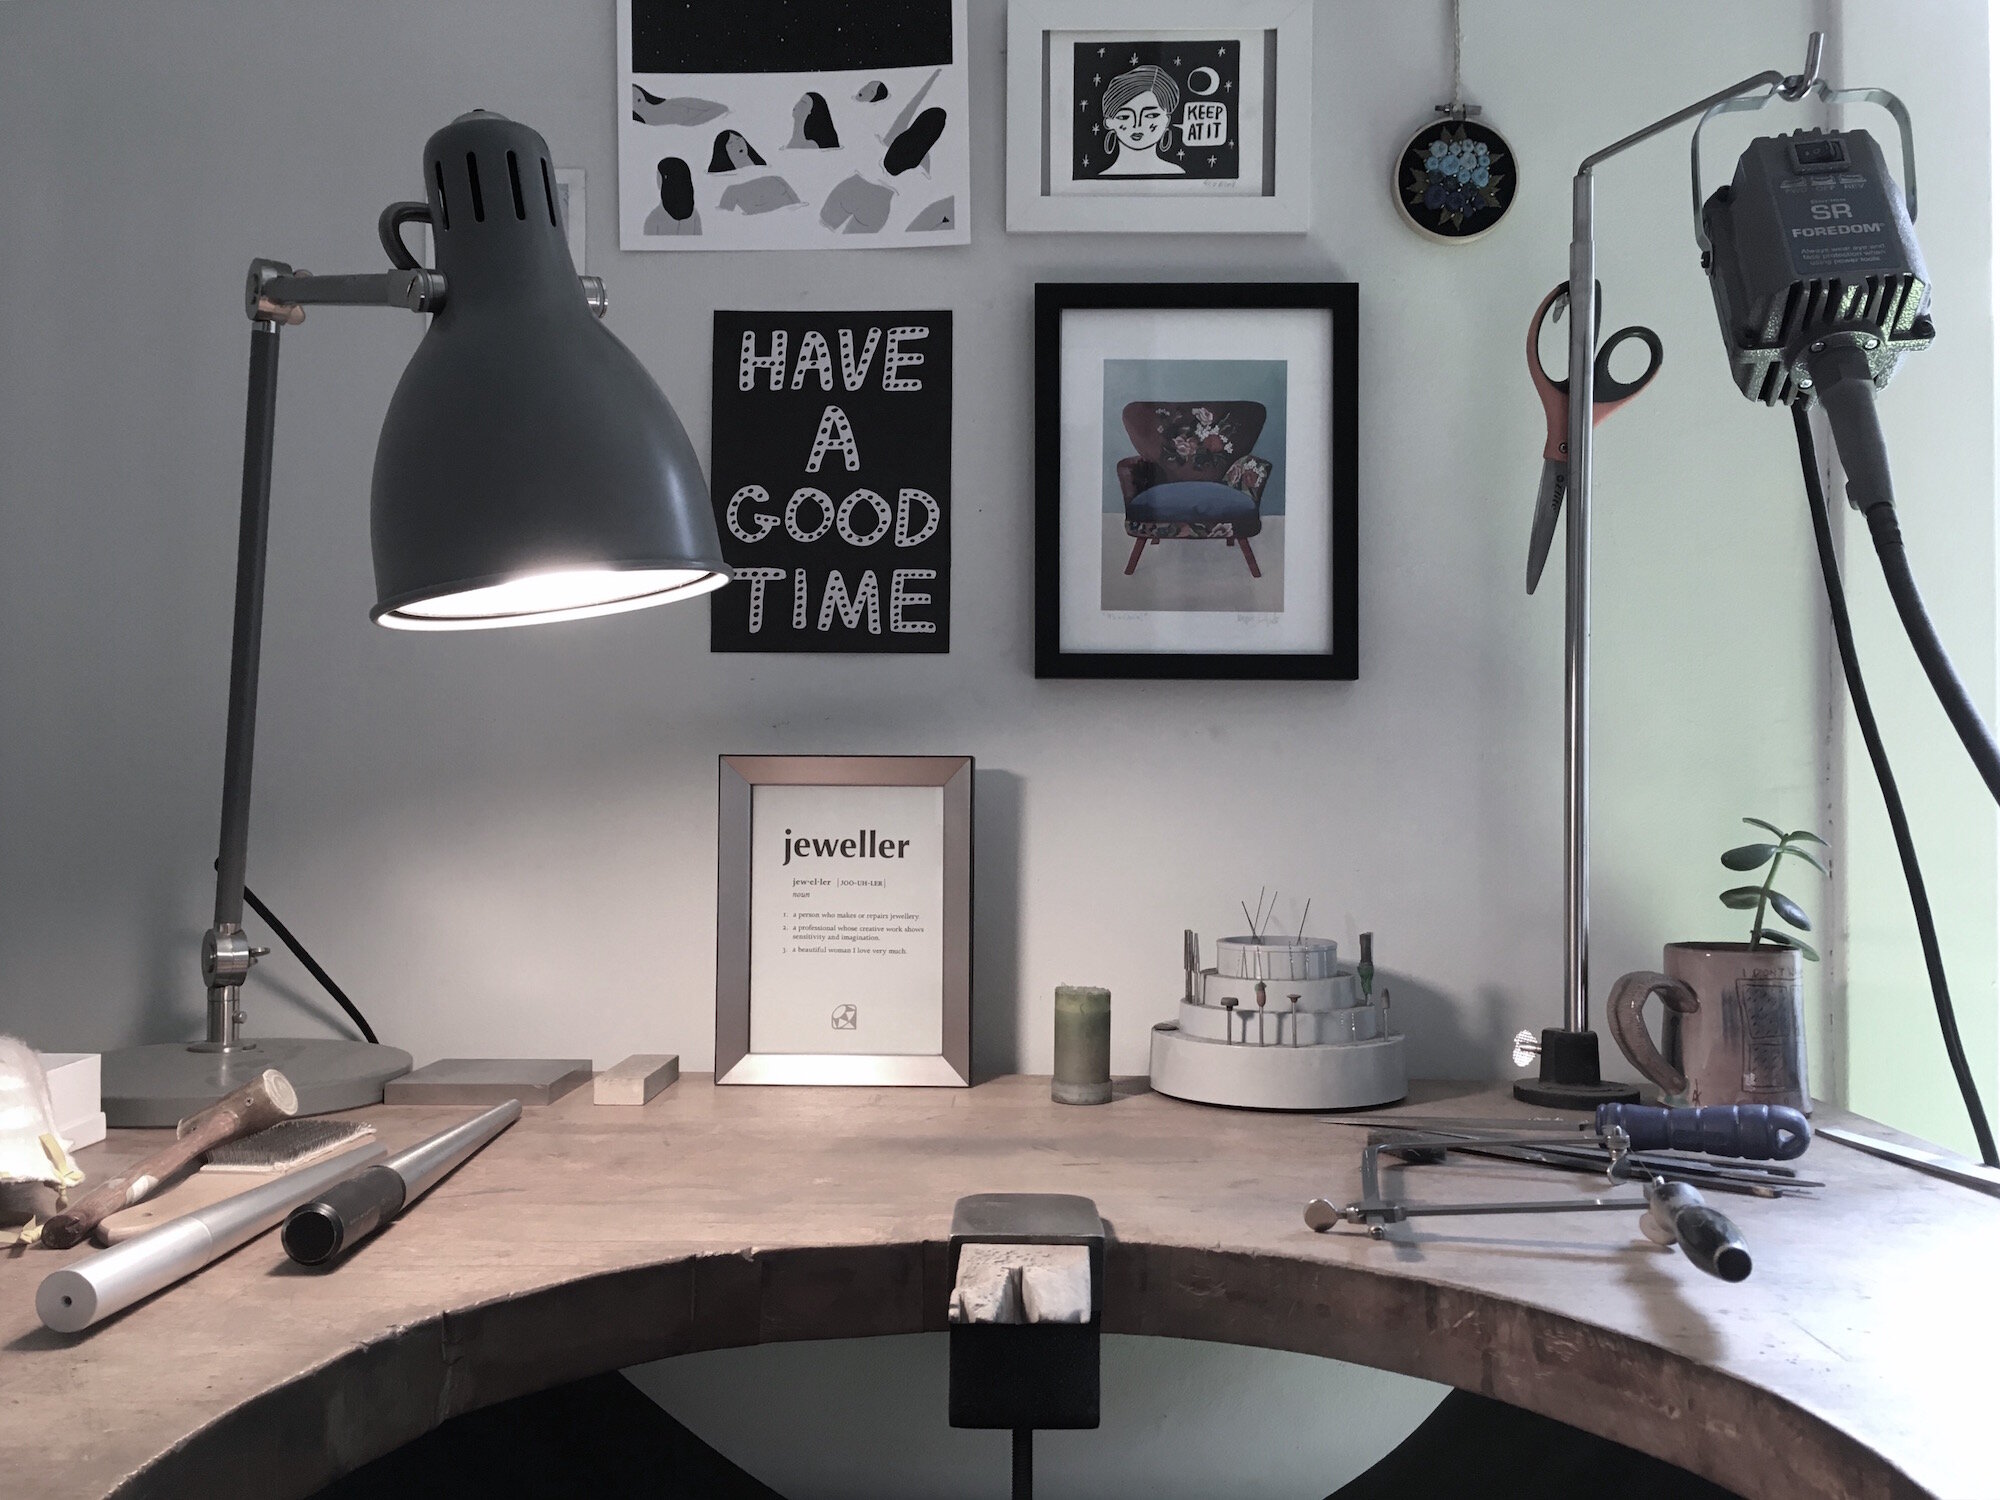
This is my jewellery workbench in my studio in Halifax, NS. A jeweller's bench usually has a half-moon shape cut out of the table top; this allows you to sit closer to your work while having necessary tools on either side. The little wedge in the centre helps to support the jewellery you're working on.
All of my designs start with a sketch. I like to sketch out ideas on tracing paper so that I can repeat forms to create different compositions.
There are many different ways to make jewellery, but my preferred technique is called lost-wax-casting. This is an ancient technique that has evolved over time with technology, but is still a widely used method today. Referencing my sketches, I carve my jewellery designs out of a block of wax. I use a variety of tools to carve away the wax and smooth out the surface. Once a wax model is complete, a mold is made. Multiple identical wax models can be produced from this mold, which makes this a great technique for production work.
A variety of tools used for carving wax models.
Here are some of the tools I use to create wax models. Many of the tools are quite sharp and have very fine tips to achieve a high level of detail.
After accumulating a few wax models, they are joined together with little wax sticks called a sprue, and another mold is made. The waxes are melted and drained from the mold. Molten metal is then poured into the mold, and it fills up all the tiny cavities where the wax models once were.
When the metal has cooled inside the mold, it is removed, and is ready to become shiny pieces of jewellery! Pictured below you can see three different stages of the production of a ring. On the left is the wax ring; the ring in the middle has just been casted in silver, and has a thick texture that needs to be removed through various stages of filing and sanding. On the right is the finished ring, which has been nicely polished.
Some designs require further assembly; components may need to be soldered together, or connected to a chain.
A simple setup for soldering.
.
Here are a couple more designs in wax form beside the finished pieces:
I hope you enjoyed this little peek into some of the processes I use to create my jewellery! Thanks for following along.


